Medium House construction:
The medium houses were built using 99gal Suncast Deck boxes. I cut the window and door openings with a jigsaw. After installing the insulation I installed two boards across the top to support the top insulation panel and to give a place to mount the light fixture.
On the medium size houses, I mounted the plexiglas on the inside. In the picture you can see that there are reinforcing ribs that stick out from the side as well as forming a kind of shelf an inch or two from the bottom and the top. I’ll try to point them out in the picture. These ribs and shelves form the boxes that I set the plexiglas in. Any plastic that would keep the plexiglas from laying flat against the wall in this box, I ground flat. Then I pre-drilled the holes to run the screws from the outside, through the outer molding, then the side of the box, through the plexiglas, and into the inner wooden frame. This let the plexiglas rest flat against the plastic of the wall and I didn’t have to deal with any ribbing on the outside. I ran caulking around the outside and the inside of the outside molding.

The cats like the windows to see who’s inside before they go in and they like to lie in the cat houses and watch the world go by. Plus, I can watch them when they’re in the houses.
The problem is that there is a lot of heat loss through the windows. To fix that, I retrofitted all the cat houses with dual pane windows.
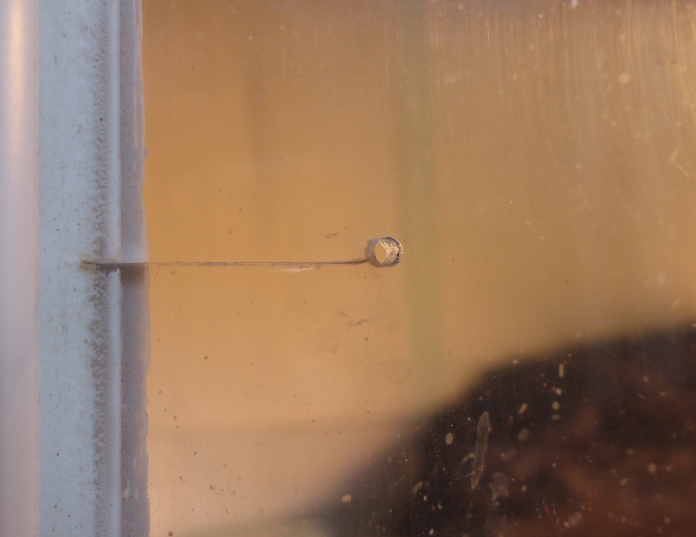
I did that by adding a second pane inside the first with an 1/8 inch gap between. To maintain the gap, I applied a strip of foam insulation around the sides of the inner plexiglas before installing it. I held the inner pane in place with vinyl trim pieces screwed to the frame that the outer panes were screwed to. Here’s a couple of pictures to make that a little clearer. The dual panes made an incredible difference in the heat loss.
This shows the type of foam strip I ran around the edge of the inner pane to maintain the 1/8in air gap. It’s 3/8 inch wide and 3/16 inch thick. Next to it is the molding I used to hold the inner pane in place.

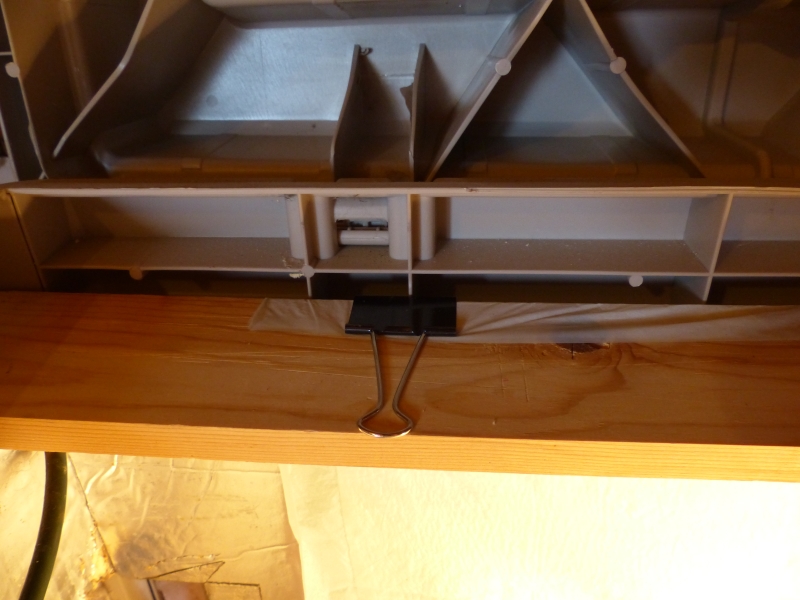
Because some of my cat like to spray, I protect the interior walls with puppy pads. To attach the pads along the back wall, I clip them to the wooden ceiling plank using spring clamps.
To attach the pads to the sides, I first remove the plank with the lights and simply tape the pads to the plastic walls, above the insulation. I use 2 inch clear packing tape and the light plank will also help hold them in place.

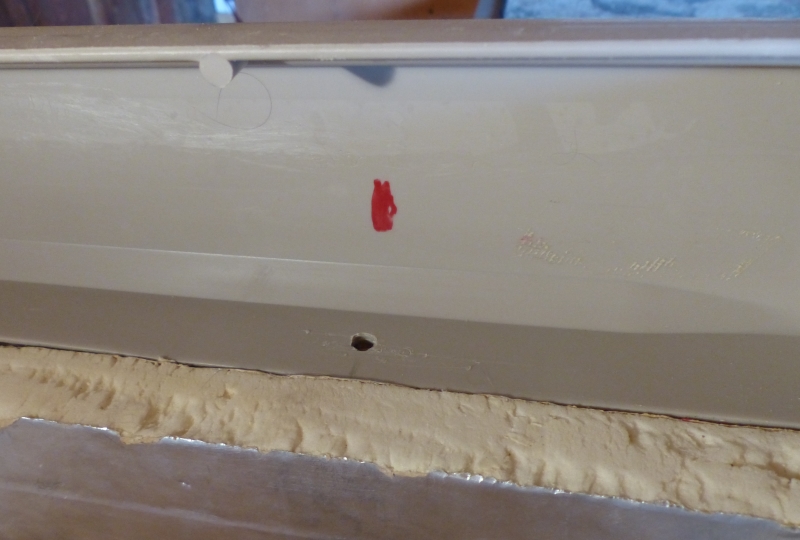
I also modified the plank that the lights are attached to. I added a pin at each end of the plank to keep it from moving. I also added an L bracket near each end to help hold the side insulation panels in place.

This shot shows the hole that the pin goes into. The red mark helps you find the hole when the side puppy pad covers it as shown in one of the previous shots.
Installing the isulation:
These houses are insulated on the sides, back, top and bottom with RMax foil sided foam insulation. Either 1in or 1-1/2in thick.
To insulate the house, cut the back insulation panel to fit the full width of the box, from the bottom, up to the shelf where the boards will sit. Then I would cut the sides to fit from the front to the back insulation panel. Cut the holes in the side panels to match the door holes in the sides of the box. Cut the bottom to reach to the front of the box, to the insulation panels on the sides, and the insulation panel on the back. Cut all pieces to fit tight. Put the back panel in first, then the side panels and finally the bottom panel. The side panels will hold the back in place and the bottom will hold both the sides and the back in place. The L brackets on the light board will hold the top of the side panels in place. This way all the panels can be removed if needed. The top, of course is cut to fit all the way from side to side and front to back. It will sit on top of the two support boards. Don’t make the top fit too tight or it will be tough to remove. I put duck tape handles on each side of the top to make it easier to remove. To insulate the front, between and next to the windows, I cut pieces of insulation to fit tightly between the major reinforcing ribs. If you want a more secure attachment, I’d use a construction adhesive, such as Liquid Nails to glue the panels to the protrusions and ribs.
A couple of other things:
During the cold months, I use 65 watt flood lights. They don’t really get ‘red hot’. You can brush against them without getting burned, but if you grab on to one, it’s going to hurt. I’ve never had one pop when it burns out, they just go dark. The reason I use dual lamps is in case one burns out, there will still be some heat in the house.
The power cord should go through a grommet entering the box. Also, as this whole thing is going to be outside, it should be plugged into a circuit that is protected by a GFI (ground fault interrupter).

For cutting the plexiglas, if you can’t find a piece already the right size, I never had any luck scoring and snapping it. Cutting it on a table saw worked best but I’ve also used a jig saw. A couple of times I’ve managed to crack the piece I was cutting. You can of course just start over, but if it’s just a small crack, I drill a small hole at the end of the crack to keep it from going any further. You can put a bit of caulk in the hole if you want.
A few more pictures:


